Whether you're a seasoned artist or just dipping your toes into the colourful pool of linocut, we've got some invaluable tips and tricks to make your journey smoother and your prints sharper.
Carve Away from Yourself

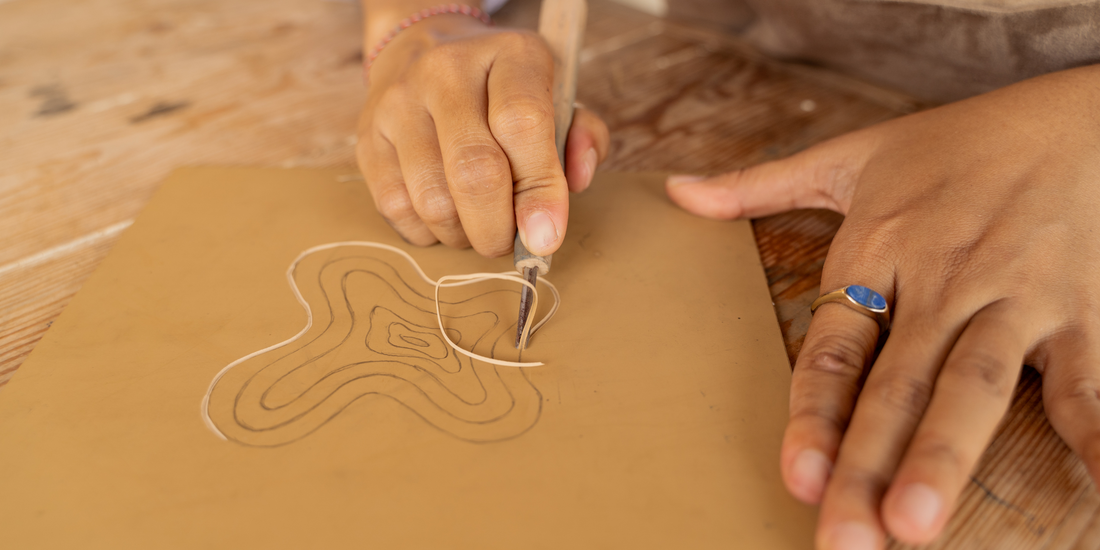
ALWAYS carve away from your body to minimise the risk of accidental cuts. Use controlled and deliberate movements, taking your time to avoid slips or mistakes.
Start with Shallow Cuts
Begin by making shallow cuts on the lino sheet, gradually increasing the depth as
needed. This approach allows for better control and reduces the chances of making irreversible mistakes.
Test Prints
Before creating your final print, make test prints on scrap paper. This helps you
assess the quality of your carving and make adjustments if necessary.
Carve in Stages
Rather than attempting to remove large sections of lino in a single cut, it’s better
to carve in stages. Start with shallow cuts and gradually increase the depth as you progress. This method provides better control and reduces the chances of making irreversible mistakes.
Warm Up the Lino
In colder environments, warm up the lino sheet slightly before carving. This can make the material more pliable and easier to work with. You can use a hairdryer or place the sheet near a heat source for a short time, but be cautious not to overheat it.
Take Breaks and Step Back
Lino cutting can be a time-consuming process, and it’s easy to get absorbed in the details. Remember to take regular breaks to rest your hand and eyes. Additionally, step back from your work periodically to gain a fresh perspective.
Secure the Lino
Place the lino sheet on a stable and non-slip surface. You can use masking tape or adhesive putty to secure the sheet to the working area, preventing it from moving during carving.
Experiment and Have Fun
Lino cutting is a versatile art form, so don’t be afraid to experiment with different
techniques, textures and styles. Allow yourself to explore and enjoy the process of creating unique prints.
Rolling paint and applying to lino
Prepare Your Paint and Roller

Choose your colour of paint. Make sure the paint is well mixed and has a smooth consistency. Make sure your roller is thoroughly clean and dry if it has been used before.
Roll the Ink onto the Lino Block

Place a small amount of paint onto a smooth and non-porous surface, such as a glass or acrylic palette. Use a palette knife or spoon to spread the paint into a thin and even line.
Roll the paint using the roller. Start from one end of the paint and apply firm and consistent pressure while rolling back and forth. Make sure you lift up the roller at the start and end of each roll.
You are listening out for a sticky noise, somewhat similar to a velcro noise.
Using the same kind of pressure, start to roll the paint onto your lino sheet from top to bottom.
Ensure that the paint covers the entire surface of the lino block in a smooth and even layer. Roll in different directions to ensure even distribution of paint.
These steps will help you roll paint effectively for lino printing. Remember to clean your tools and workspace promptly after printing to maintain their longevity and prevent ink from drying. Experiment with different inks, colours and rolling techniques to achieve the desired results in your lino prints.
Ready to start creating prints? Grab our Artful Printmaking Box for materials, tutorials & insightful interviews.
Browse our selection of Risograph Art Prints here.